
Overview
As a Root Admin or Super Admin, you can invite new team members to help manage your enterprise account. This administrative function allows you to control who can execute transactions, view data ledgers, or authorises asset operations within your custody ecosystem.
Permission Matrix Breakdown
Before dispatching an invitation, please review the operational authority boundaries defined below:
Role | Can Invite Users? | Can Assign Roles? |
|---|---|---|
Root Admin | ✅ Yes | ✅ Yes |
Super Admin | ✅ Yes | ✅ Yes |
Standard User | ❌ No | ❌ No |
Step 1: Open the User Management Roster
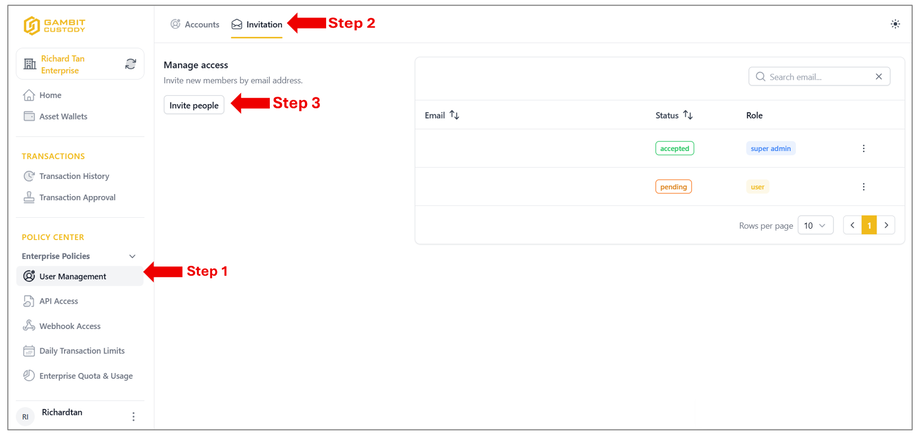
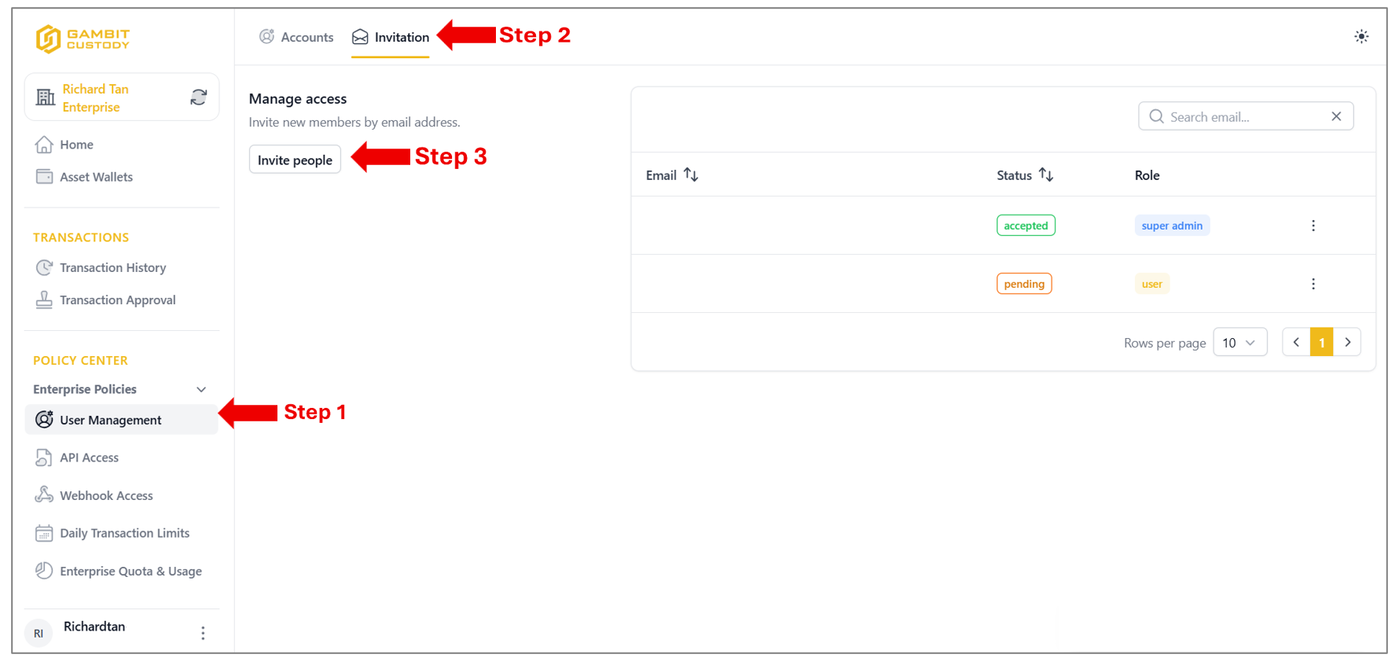
Log in to the portal and navigate to the left-hand sidebar menu.
Locate the POLICY CENTER module, click to expand Enterprise Policies, and select User Management.
From the upper sub-tab panel header, click on the Invitation page link.
Click the white Invite people action button situated under the Manage Access header.
Step 2: Configure Candidate Criteria
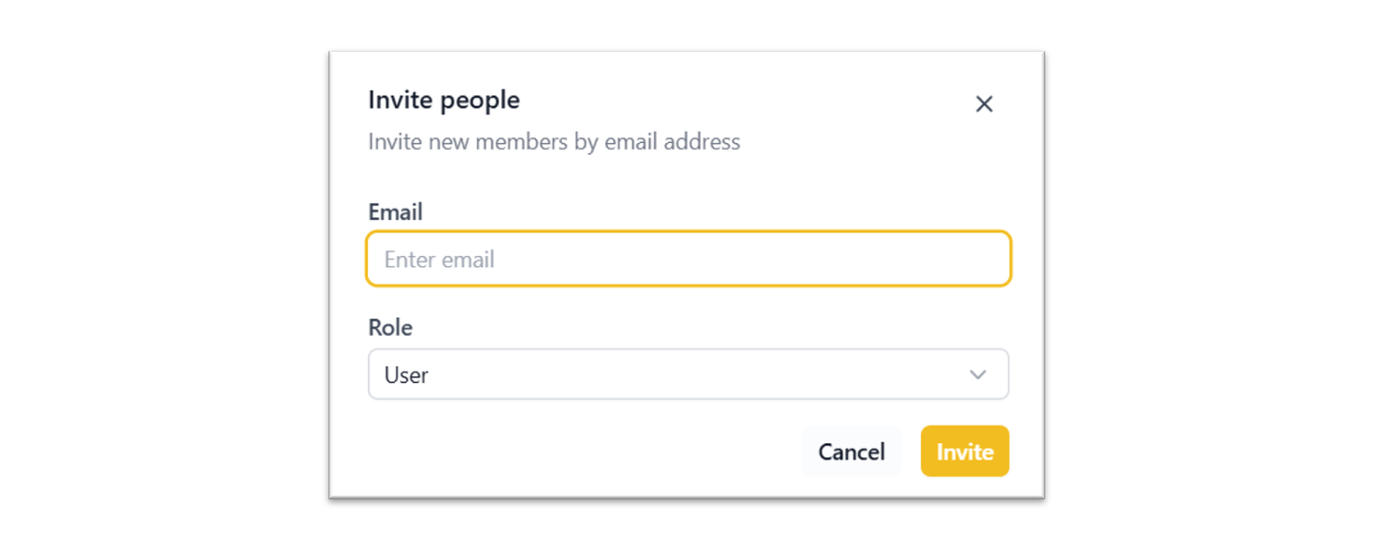
An Invite people configuration modal overlay will populate on your screen:
Email Mapping: Input the candidate's exact corporate email coordinates into the Email text box field.
Role Assignment: Click the Role drop-down menu selection block and select the desired permission configuration tier (Super Admin or User).
Click the yellow Invite button to dispatch the activation email. A yellow banner stating "Email invitation sent!" will populate momentarily on the bottom right-hand side of your platform framework.
Step 3: Verification Phase (Invited Candidate Actions)
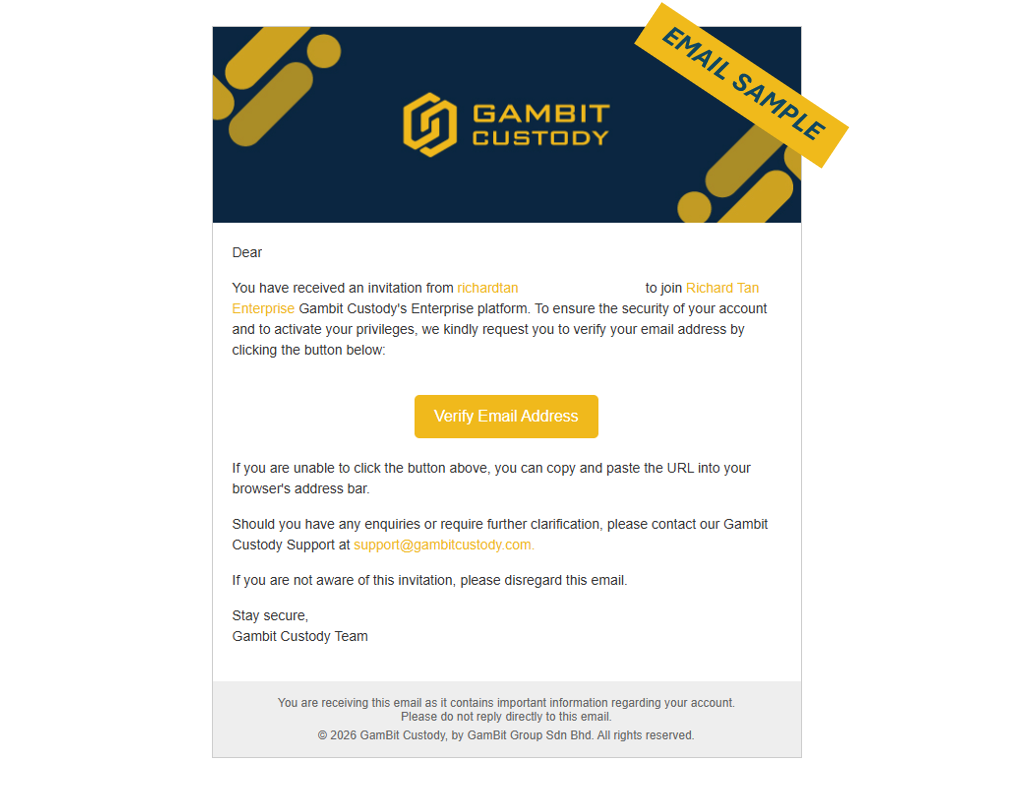
The invited team member must open their corporate email inbox and locate the automated system dispatch from Gambit Custody.
Inside the message body layout, the recipient must click the yellow Verify Email Address button token link to authenticate their digital coordinates.
Step 4: Secure Profile Registration & Password Configuration
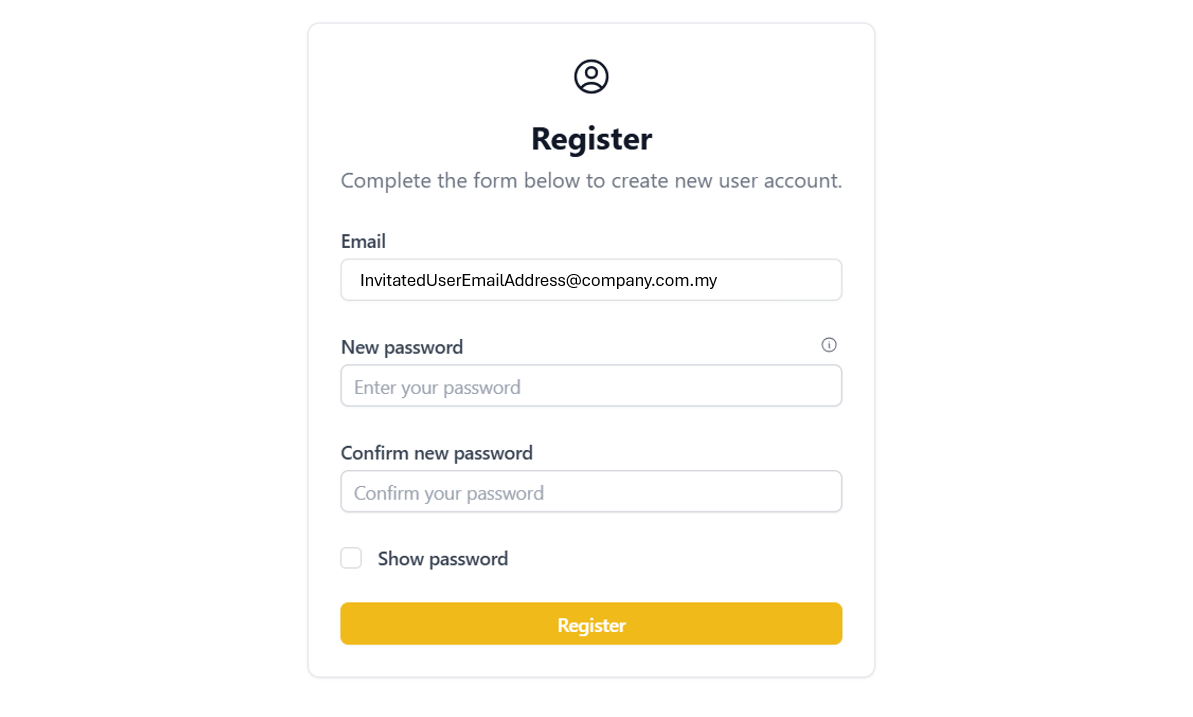
The secure token link will safely route the candidate's web browser to the official platform Register landing page window:
The user's target email address will populate as a read-only parameter in the Email field box.
Create a secure profile access token key inside the New password input block, then match it exactly inside the Confirm new password text field.
Click the yellow Register button to lock in credentials.
🔒 Note: The new password must contain a robust mix of uppercase letters, lowercase letters, numerical digits, and special characters to satisfy our platform's minimum system compliance metrics.
Step 5: Initial Account Login & Two-Factor Authentication Setup
Following registration, the user must perform their initial login to bind their multi-factor security preferences:
Sign in to the portal with the newly registered email address and password.
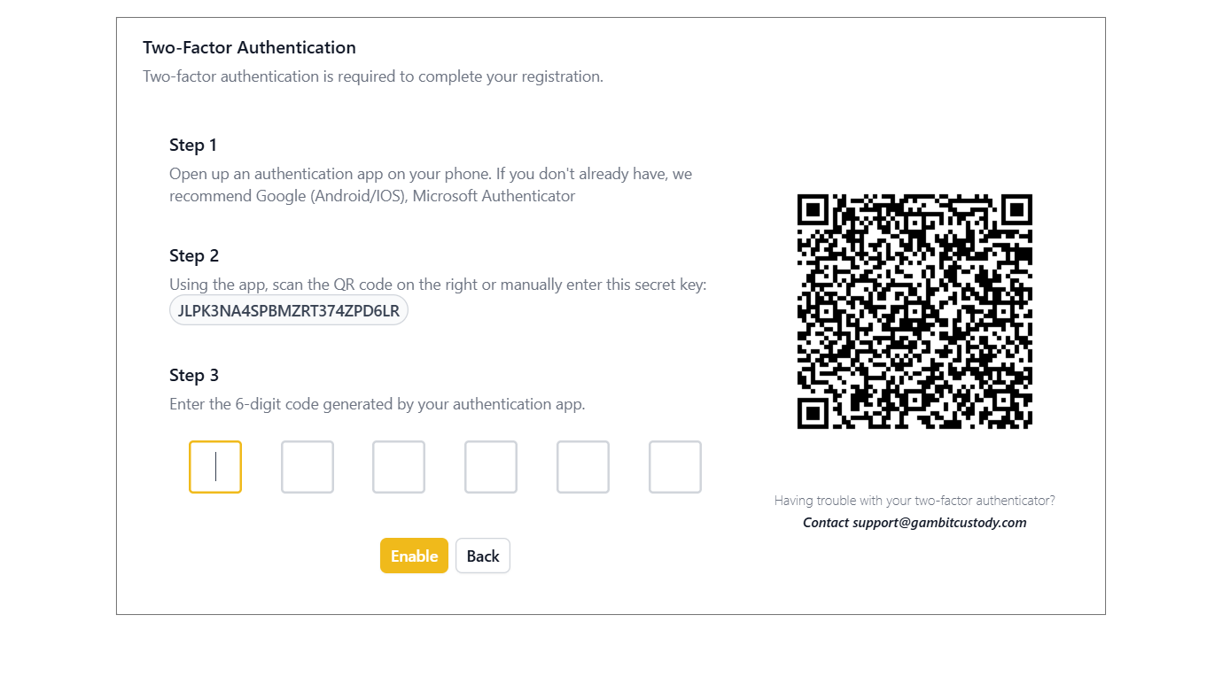
Upon logging in, the platform will prompt the Two-Factor Authentication setup screen.
Open your preferred authenticator application (e.g., Google Authenticator or Microsoft Authenticator) on your phone.
Scan the provided QR Code on the right side of the screen, or manually enter the displayed alphanumeric secret key setup phrase.
Retrieve the active 6-digit verification code from your app, input it into the designated entry boxes, and click the yellow Enable button to bind your security profile.
Step 6: Submit Invited User KYC Details
Once the security preferences are bound, the invited user will be directed to the mandatory compliance clearance window to formalise their profile onboarding:
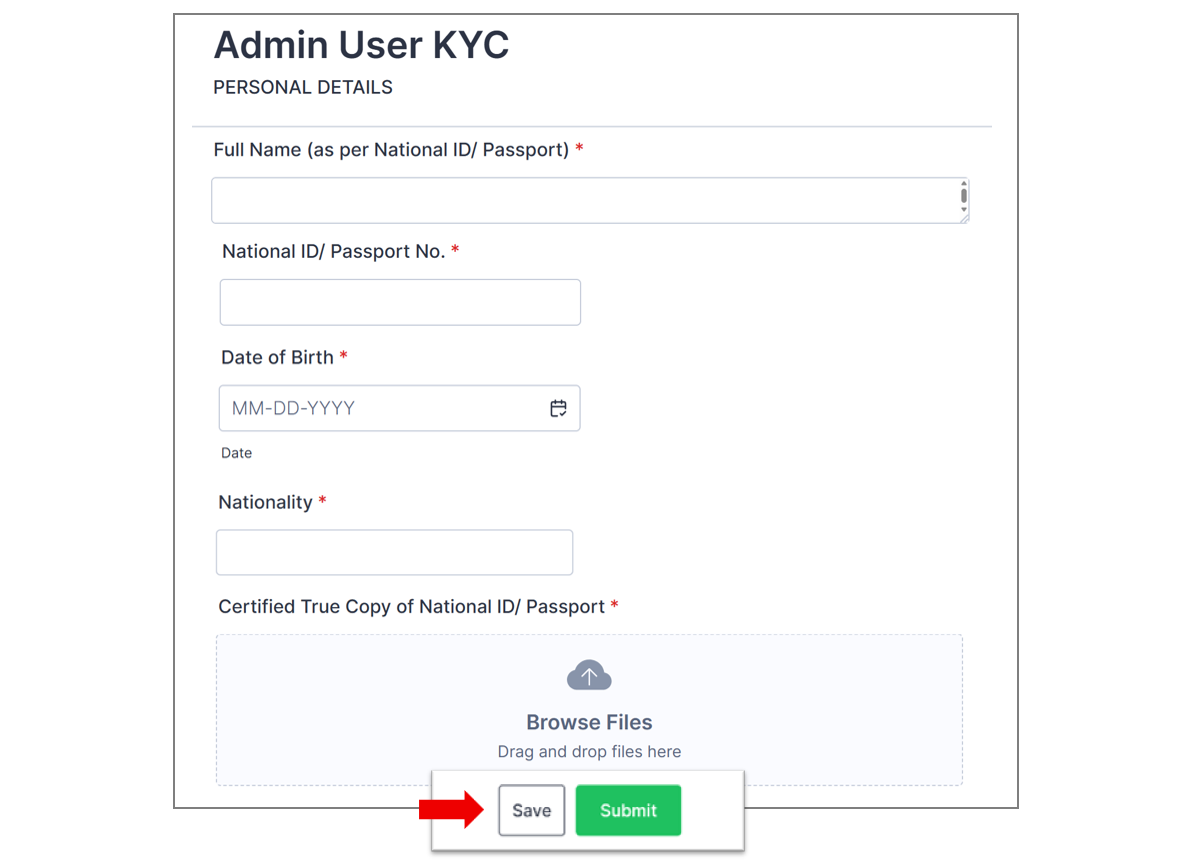
The system will display the Admin User KYC Application form window.
Complete all required fields accurately under the PERSONAL DETAILS header:
Review the entries carefully, then click Submit.
Step 7: System Hold Position (Pending Custody Approvals)
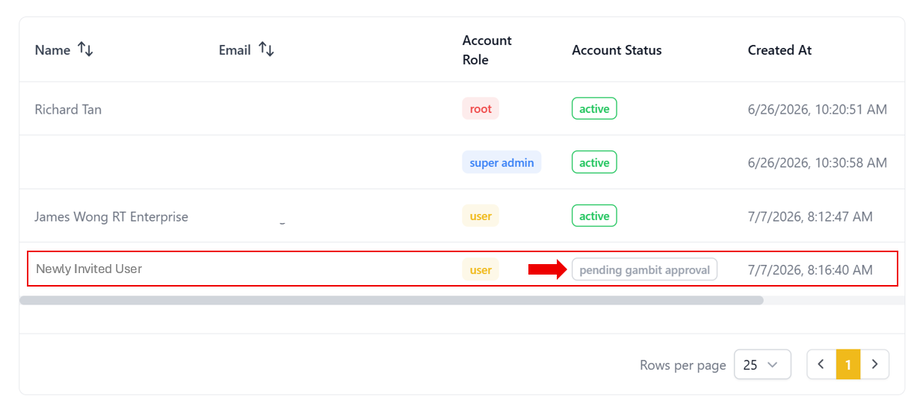
Once the candidate registers their profile and completes their KYC submission, their account row status transitions within the system ledger framework.
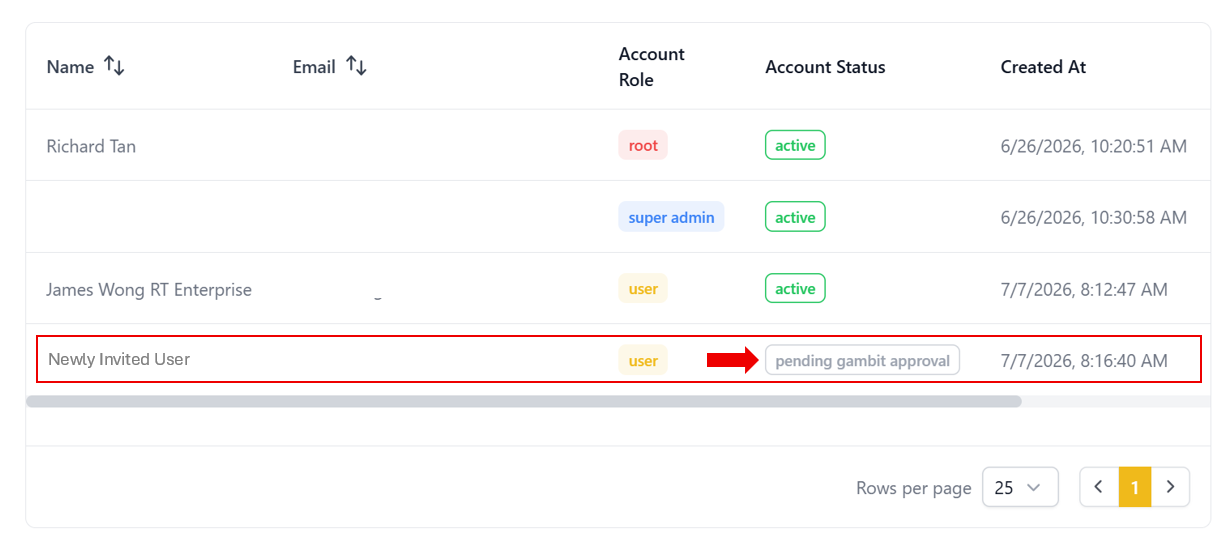
Within the Enterprise Portal’s tracking dashboard, the new user's account profile row will dynamically update to reflect an operational Account Status value of pending gambit approval. No further platform modules will be usable until our internal verification operations complete.
Step 8: Account Review & Confirmation Notification
Gambit Custody's operations desk processes the background security checks required for institutional blockchain access.
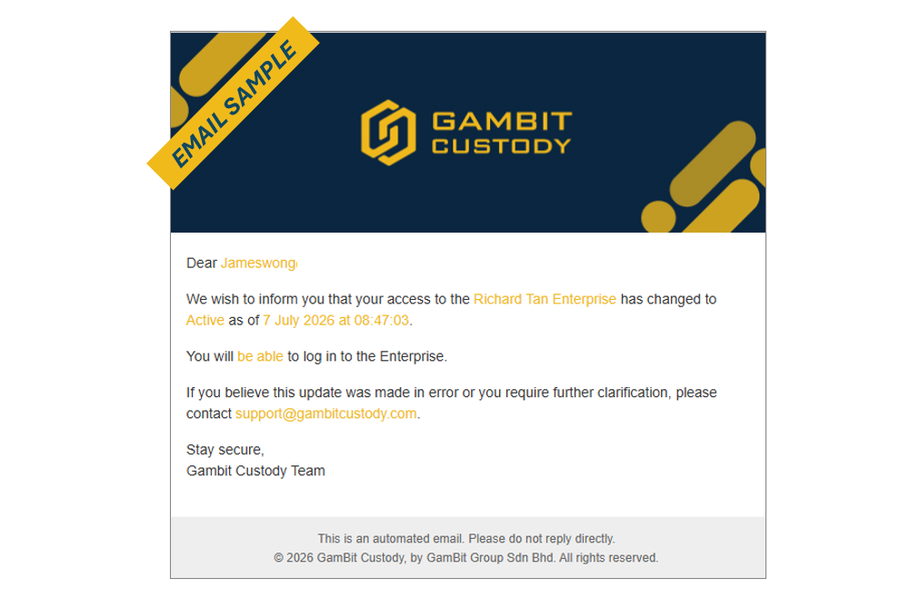
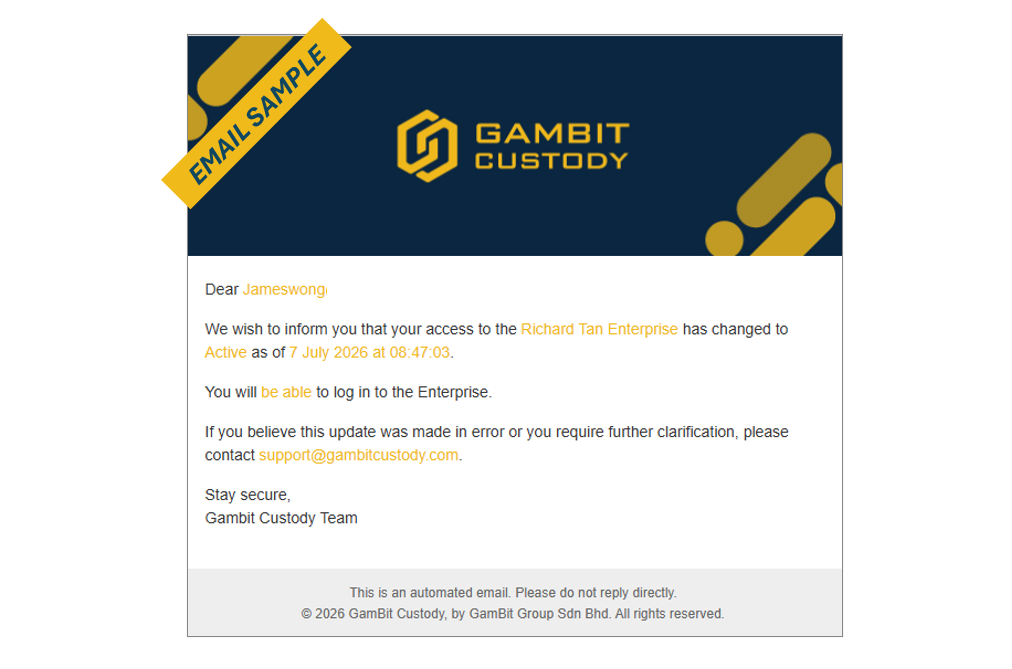
Once cleared, an automated email dispatch will be transmitted directly to the new team member's verified address to signal activation clearance.
The message body explicitly details that their permission structure modifications are verified, stating: "We wish to inform you that your access to the [Enterprise Name] has changed to Active..."
Step 8: Initial Dashboard Session Initialization
The new team member can now return to the main standard gateway login node link.
Input the registered corporate email address, provide the configured password, and click the yellow Login button to securely initialise their first live workspace session.